Getting Started
When you open the Guru Maps application on your device for the first time, an onboarding process will guide you through configuring the app for future use.
Download a map
Downloading Maps for Your Current Location
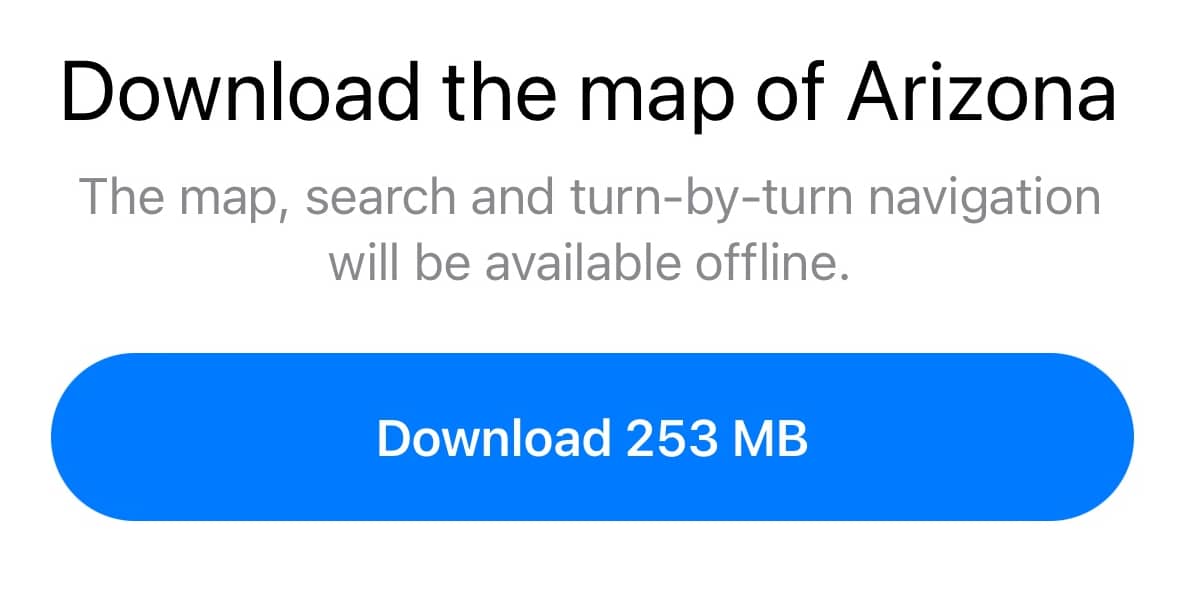
When you grant permission for Guru Maps to access your location, the app will prompt you to download the map for your region to use offline. This ensures that you have access to the map even when you don't have an internet connection.
Downloading Maps for Other Regions
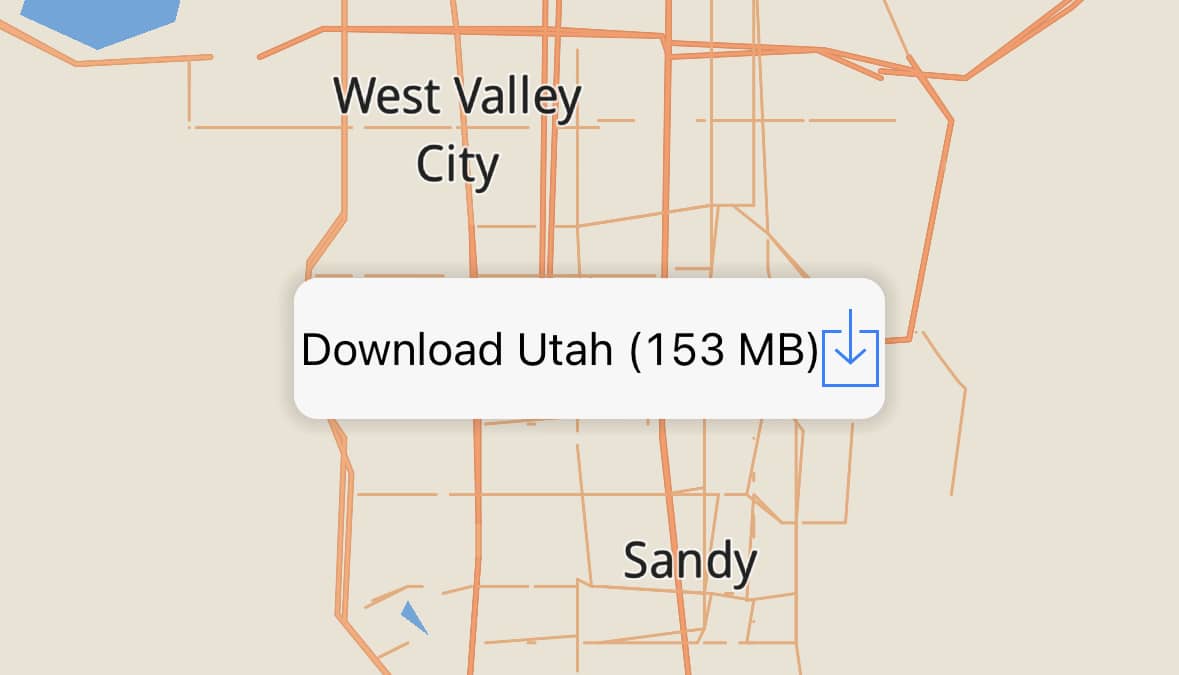
You can easily download maps for other regions by browsing and zooming directly on the map or by accessing the Download Maps menu in the app settings. This allows you to have offline access to maps beyond your current location, making it convenient for travel or exploration.
Highlighting Downloaded Maps
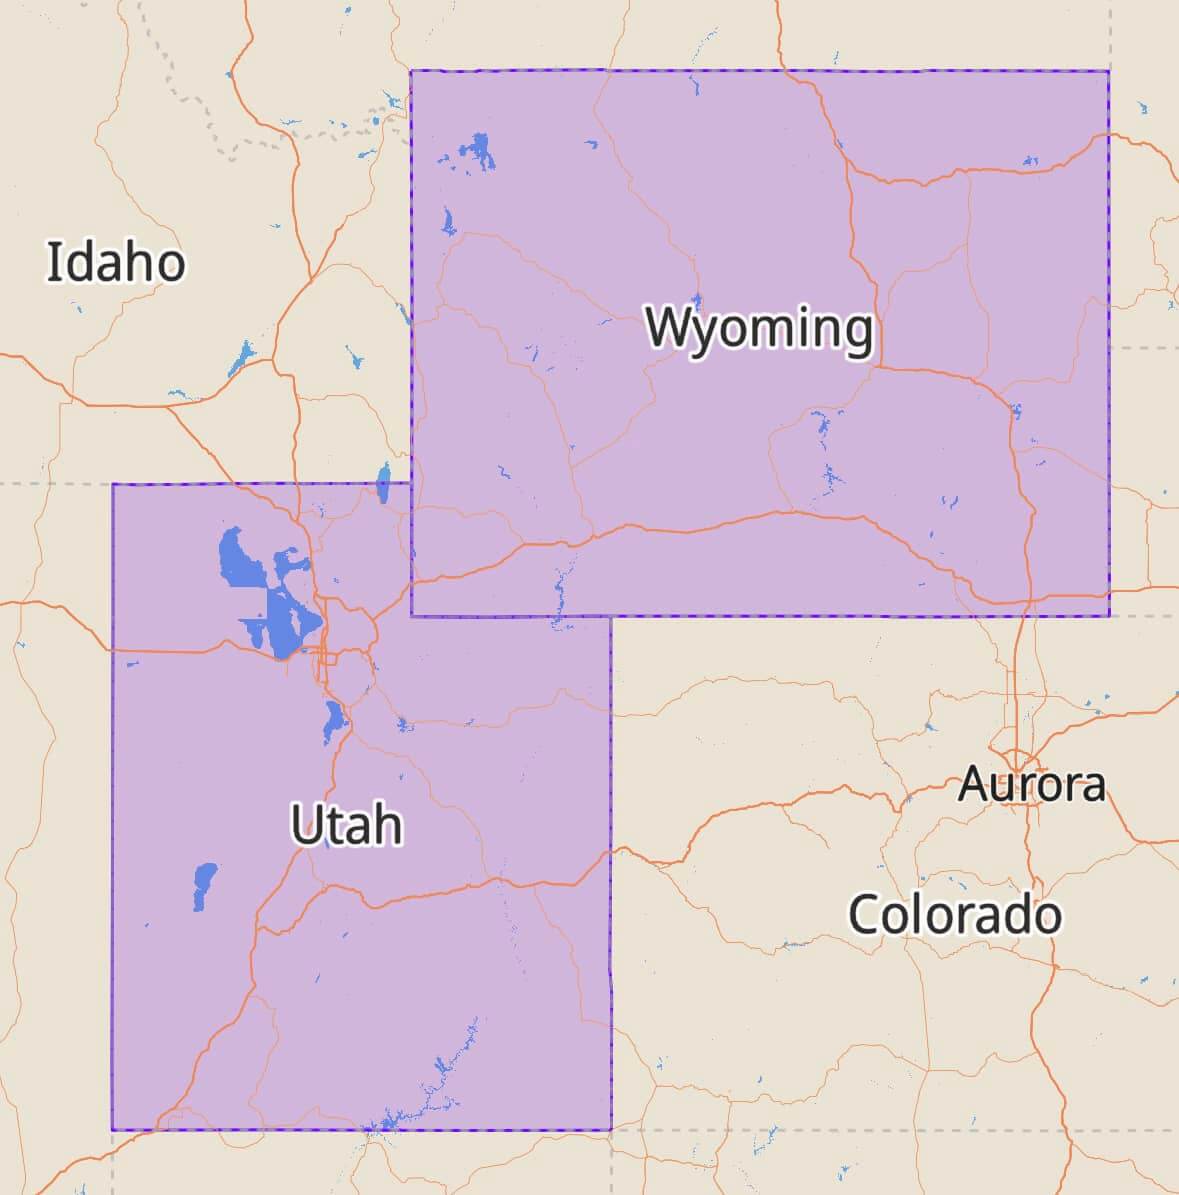
To enhance visibility, all map areas that have been downloaded for offline use are highlighted in purple. This visual indicator makes it easier for you to identify which areas have already been downloaded and are available for offline access.
Navigate the Map
The Guru Maps app provides standard and familiar options for interacting with the map. Here's how you can perform different actions:
- Moving the Map: Drag the map in the desired direction using your finger.
- Zooming In: Double-tap on the map or spread your fingers apart (pinch gesture) to zoom in.
- Zooming Out: Tap the map with two fingers simultaneously or pinch your fingers together to zoom out.
- One-Finger Zoom: For zooming in or out using only one finger, double-tap the map and hold the second tap. Then, drag your finger up or down to zoom in or out, respectively.
- On-Map Zoom Buttons: If you prefer using dedicated zoom buttons on the map, you can enable them in the app settings: "Main Screen" > "Zoom Buttons".
- Rotating the Map: Use a two-finger gesture by holding the map with two fingers and dragging them in a circular motion to rotate the map. Tap the compass icon to reset the map to its north-up orientation.
Performing a long tap on the map brings up a pop-up menu with available options (from left to right):
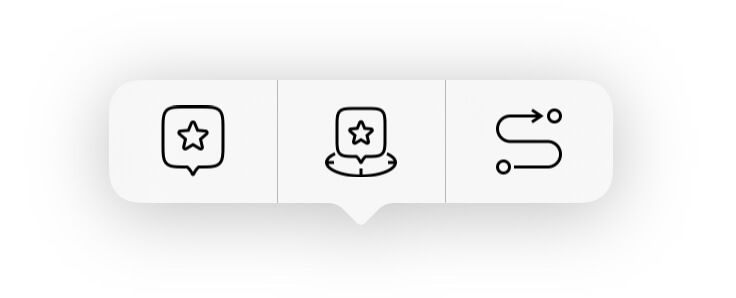
- Save this location,
- Save your current location,
- Navigate to a point.
Show Your Current Location
To zoom the map to your current location, tap the "Location" ![]() button. When you are stationary, your position is displayed on the map as a blue circle
button. When you are stationary, your position is displayed on the map as a blue circle ![]() . When you are moving, it is displayed as a blue arrow
. When you are moving, it is displayed as a blue arrow ![]() .
.
If your location cannot be determined precisely, a blue circle will also appear around the location marker. The size of the circle indicates the accuracy of the location determination: the smaller the circle – the greater the accuracy.
Every time you see this icon ![]() , it means that your GPS cannot currently get accurate information about your location. It may also appear when Location Services is disabled on your device.
, it means that your GPS cannot currently get accurate information about your location. It may also appear when Location Services is disabled on your device.
Enable "Location Services" on your device and give permission to the Guru Maps app to determine your location for accurate positioning.
Tracking Mode
To enable tracking mode, tap the "Location" button once:
![]() →
→ ![]()
The map will be oriented to the north, and the app will track your position as you move. The map will stay centered automatically. To exit tracking mode, move the map.
Driving Mode
To enable driving mode, tap the "Location" button twice:
![]() →
→ ![]() →
→ ![]()
The map will be oriented in the direction you are currently moving.
Compass Mode
To enable compass mode, tap the "Location" button three times:
![]() →
→ ![]() →
→ ![]() →
→ ![]()
The map will be oriented by compass and rotate as you rotate your device to reflect your actual environment.
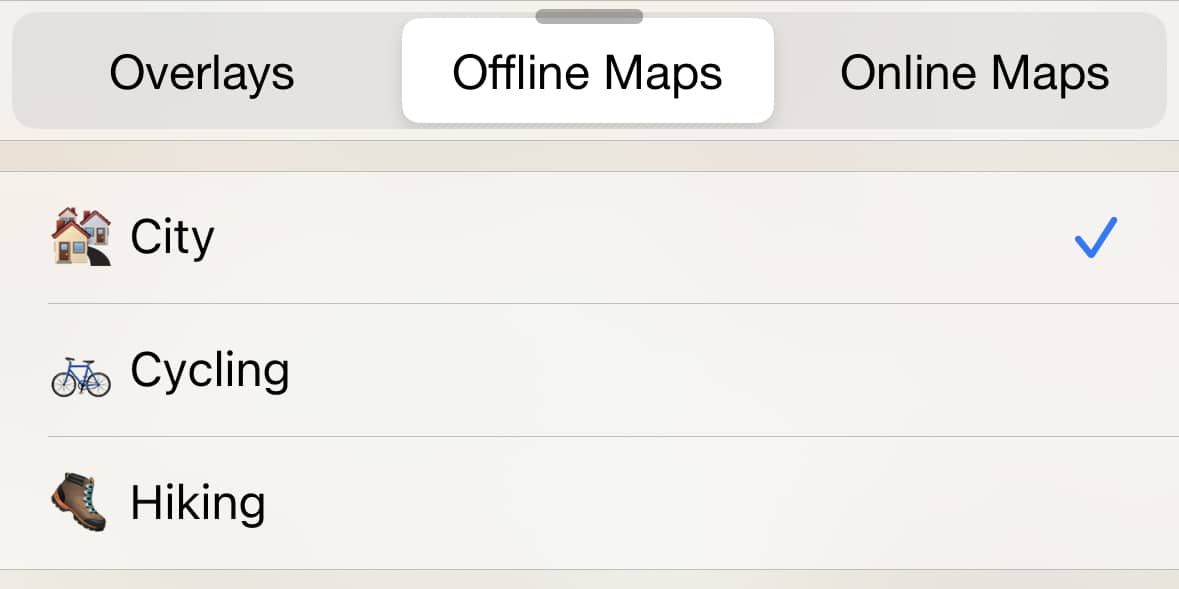
Choose the Right Map Style
Guru Maps offers various map styles and online sources to optimize the map view based on your specific needs. Tap the "Map source" ![]() button in the top right corner of the map to switch to the ideal map style for your purposes. This includes offline map styles for city navigation, cycling, hiking, as well as various online map sources.
button in the top right corner of the map to switch to the ideal map style for your purposes. This includes offline map styles for city navigation, cycling, hiking, as well as various online map sources.
Please see Map Sources for more information on the various map sources and layers available in the Guru Maps app.
Quickly switch between your two most recently used map sources by double-tapping the map source button.
View Information About Map Objects
The Guru Maps app's vector map is designed to be interactive and provides comprehensive details about places. Tap on any point of interest (POI) or location on the map to access more information about it:
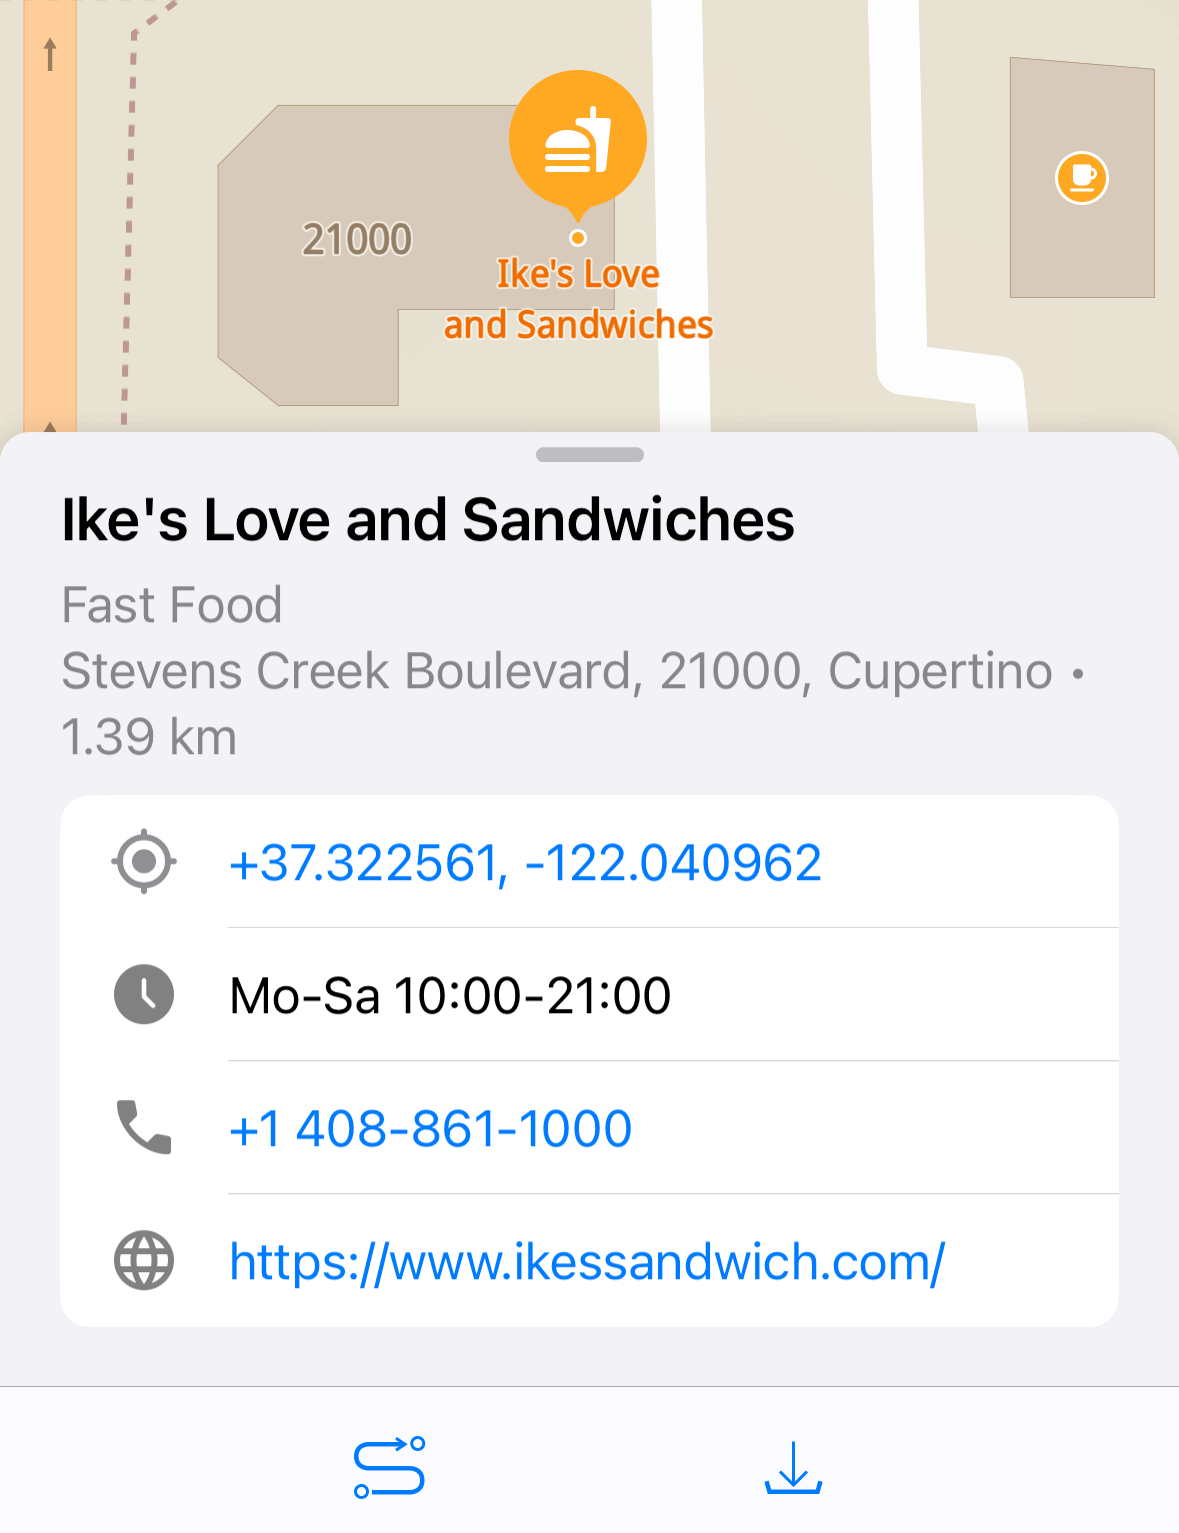
Tap the ![]() icon in the bottom menu to build a route to this location.
icon in the bottom menu to build a route to this location.
Tap the ![]() icon in the bottom menu to save a place into My Collections for easy access later.
icon in the bottom menu to save a place into My Collections for easy access later.
Pintpoint a Place
To pinpoint a spot on the map, tap and hold on the map until a pop-up appears, then tap the marker icon (first in a row):

The app will save the marker into My Collections list.
Record a Track
To record a GPS track, tap the REC button on the map. It will turn red to indicate recording:
![]() — track is not recording,
— track is not recording,
![]() — track is recording now.
— track is recording now.
Tap the REC button again and the recording stops.
If you have previously recorded a track, you will be prompted to continue the last recording or start a new one.
Tap the "REC" button again to stop the recording. The recorded GPS track will be saved in My Collections.
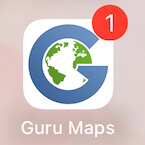
While a GPS track is being recorded, a numbered badge appears over the upper-right corner of an App icon on the Home screen:
Get a Route
To get a route, tap and hold the location on the map that you want to set as the destination point. In the pop-up menu, choose the route ![]() icon:
icon:

This will calculate and display the route to your selected destination.
Read more about navigation feature in Guru Maps here: Navigation.
Map Scale Bar
The map scale bar is positioned at the bottom of the map and provides a visual representation of the relationship between distances on the map and actual distances on the ground. You can estimate the distance between two points on the map using the scale bar:

To enable the display of coordinates below the map scale bar, go to Main Screen in the app settings, and enable the "Coordinates" option.
Map Ruler
To measure the distance between two points on the map, tap your starting and destination points simultaneously on the map and hold to trace the path. A dashed line will appear along with the estimated distance:

The map ruler stays in place even when you zoom the map. To remove the ruler, simply move the map.
To turn off the distance ruler on the map, go to Developer options in the app settings, and uncheck the "Distance gisture" option.
Trip Computer
The trip computer panel provides trip statistics while you are moving. It displays useful information such as current speed and altitude:

When recording a GPS track, it will also show distance traveled and trip duration:

To hide the trip computer panel from the map view, go to Main Screen in the app settings, and uncheck the "Show Trip Computer" option.